
LED Dimmer Switch for the Van Build
Materials needed for this project —>

I’m here for ya.
Seriously! Reach out on Instagram or YouTube with questions.
Sometimes the video is better than the article.
Step 1:
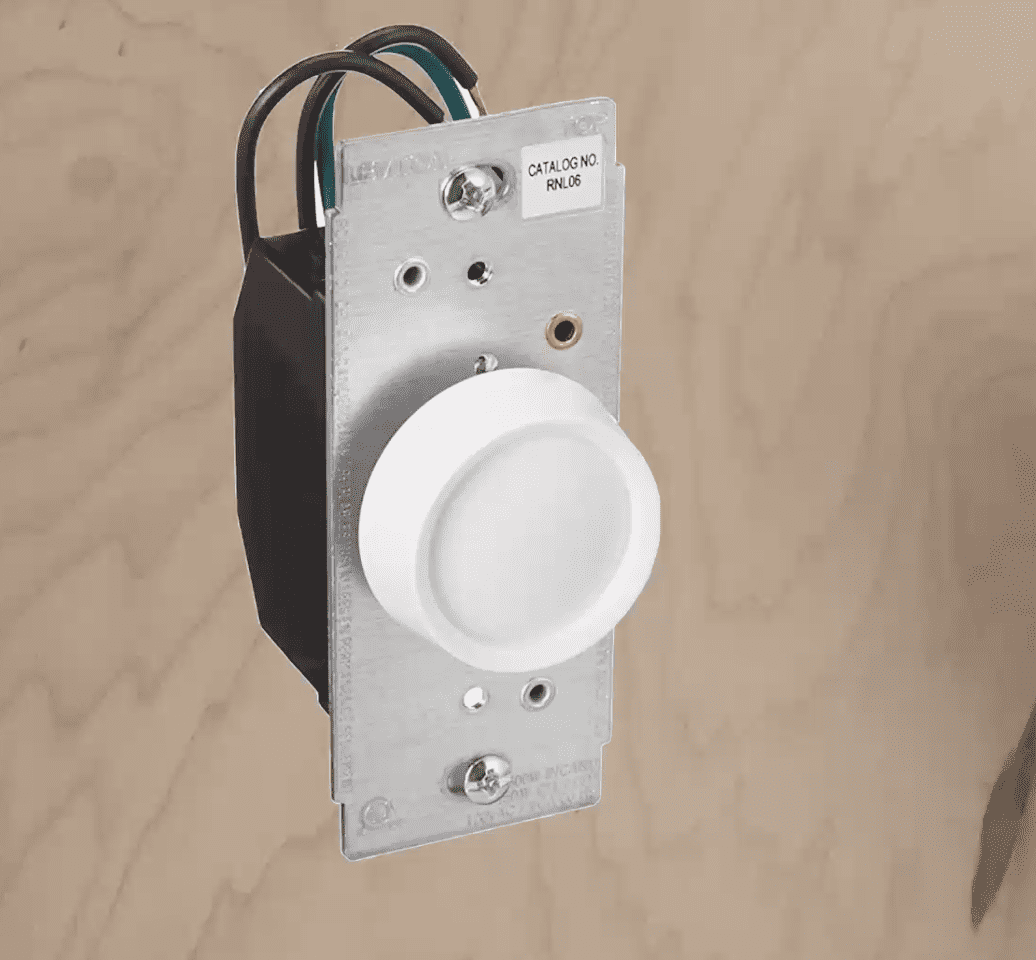
Decide between dimmer switches.
I went through 3 switches before I found one that worked.
The first two (here and here) either passed the power straight through (the first) or sparked and burned and smelled of electrical fire…(the second one).
Finally, the third one (here) came with just two incoming wires (positive and negative) and two outgoing (positive and negative), which worked perfectly.


Step 2:
Decide on location and cut hole.
I allllmost did not have enough DC wire to make it to my switch so be mindful of how far your wire will reach before you cut the hole to mount the switch.
I placed my switch in the kitchen area so I can access it as soon as I walk into the van from the sliding door or cab.
I drilled a hole with a 1/2” drill bit and then fit my jigsaw blade in and simply whittled slowly away at the rectangle I had measured and penciled onto the plywood.
I would recommend going slow and dry-fitting the switch multiple times as you cut rather than just making one big cut and hoping it’s not too big.
Step 3:
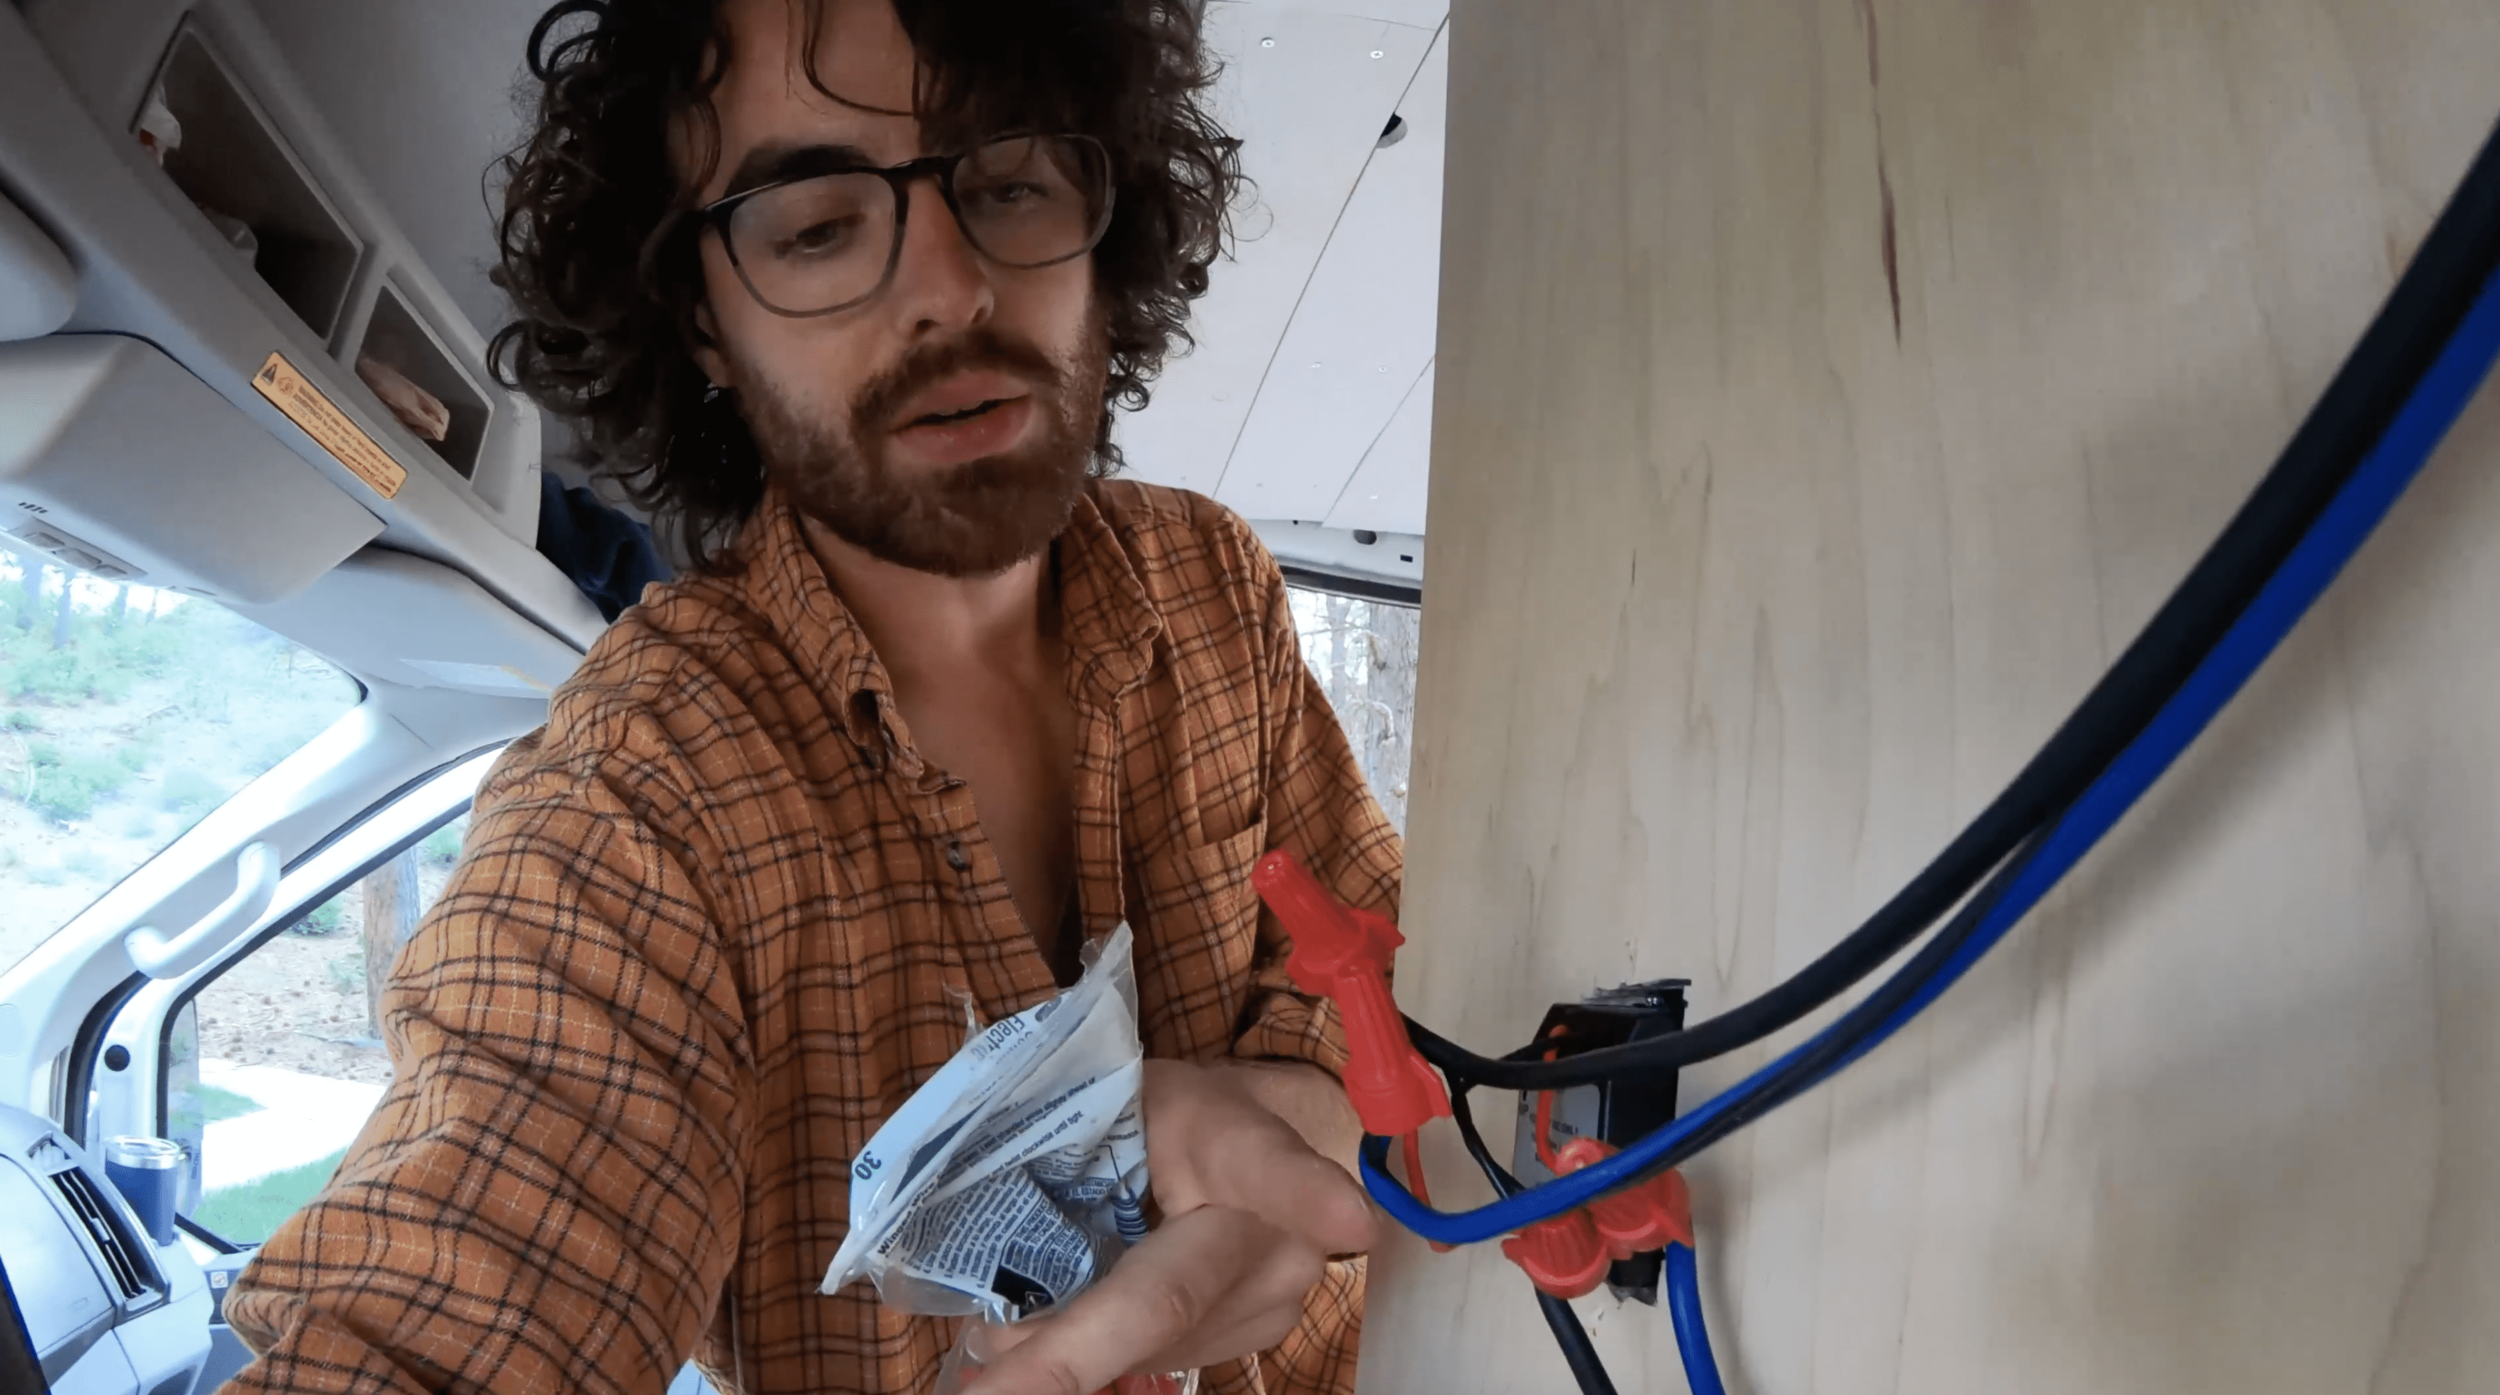
Wire in your switch!
NOTE: Before beginning the wiring process, I disconnected the negative DC wire I would be working with from the fuse block in order to keep the whole thing from being live until I was done working with it.
Once you’ve made sure your DC wires can reach the back of the switch, and that the switch fits in the newly cut hole, it’s time to cut your DC wire and splice in the wires from the switch.
In case it isn’t clear, the order of your items will be LED lights -> DC wire -> dimmer switch -> more DC wire -> the fuse block in your system.
You are splicing the switch into the circuit to intercept the LED lights and the power source (the fuse block, which is connected to your battery bank).
In the picture to the right you can see how my DC wire (blue and black) runs to the top of the switch, connects with two of the wires, and then out the bottom through the other two wires and back into the DC wire I just cut in half.

Step 4:
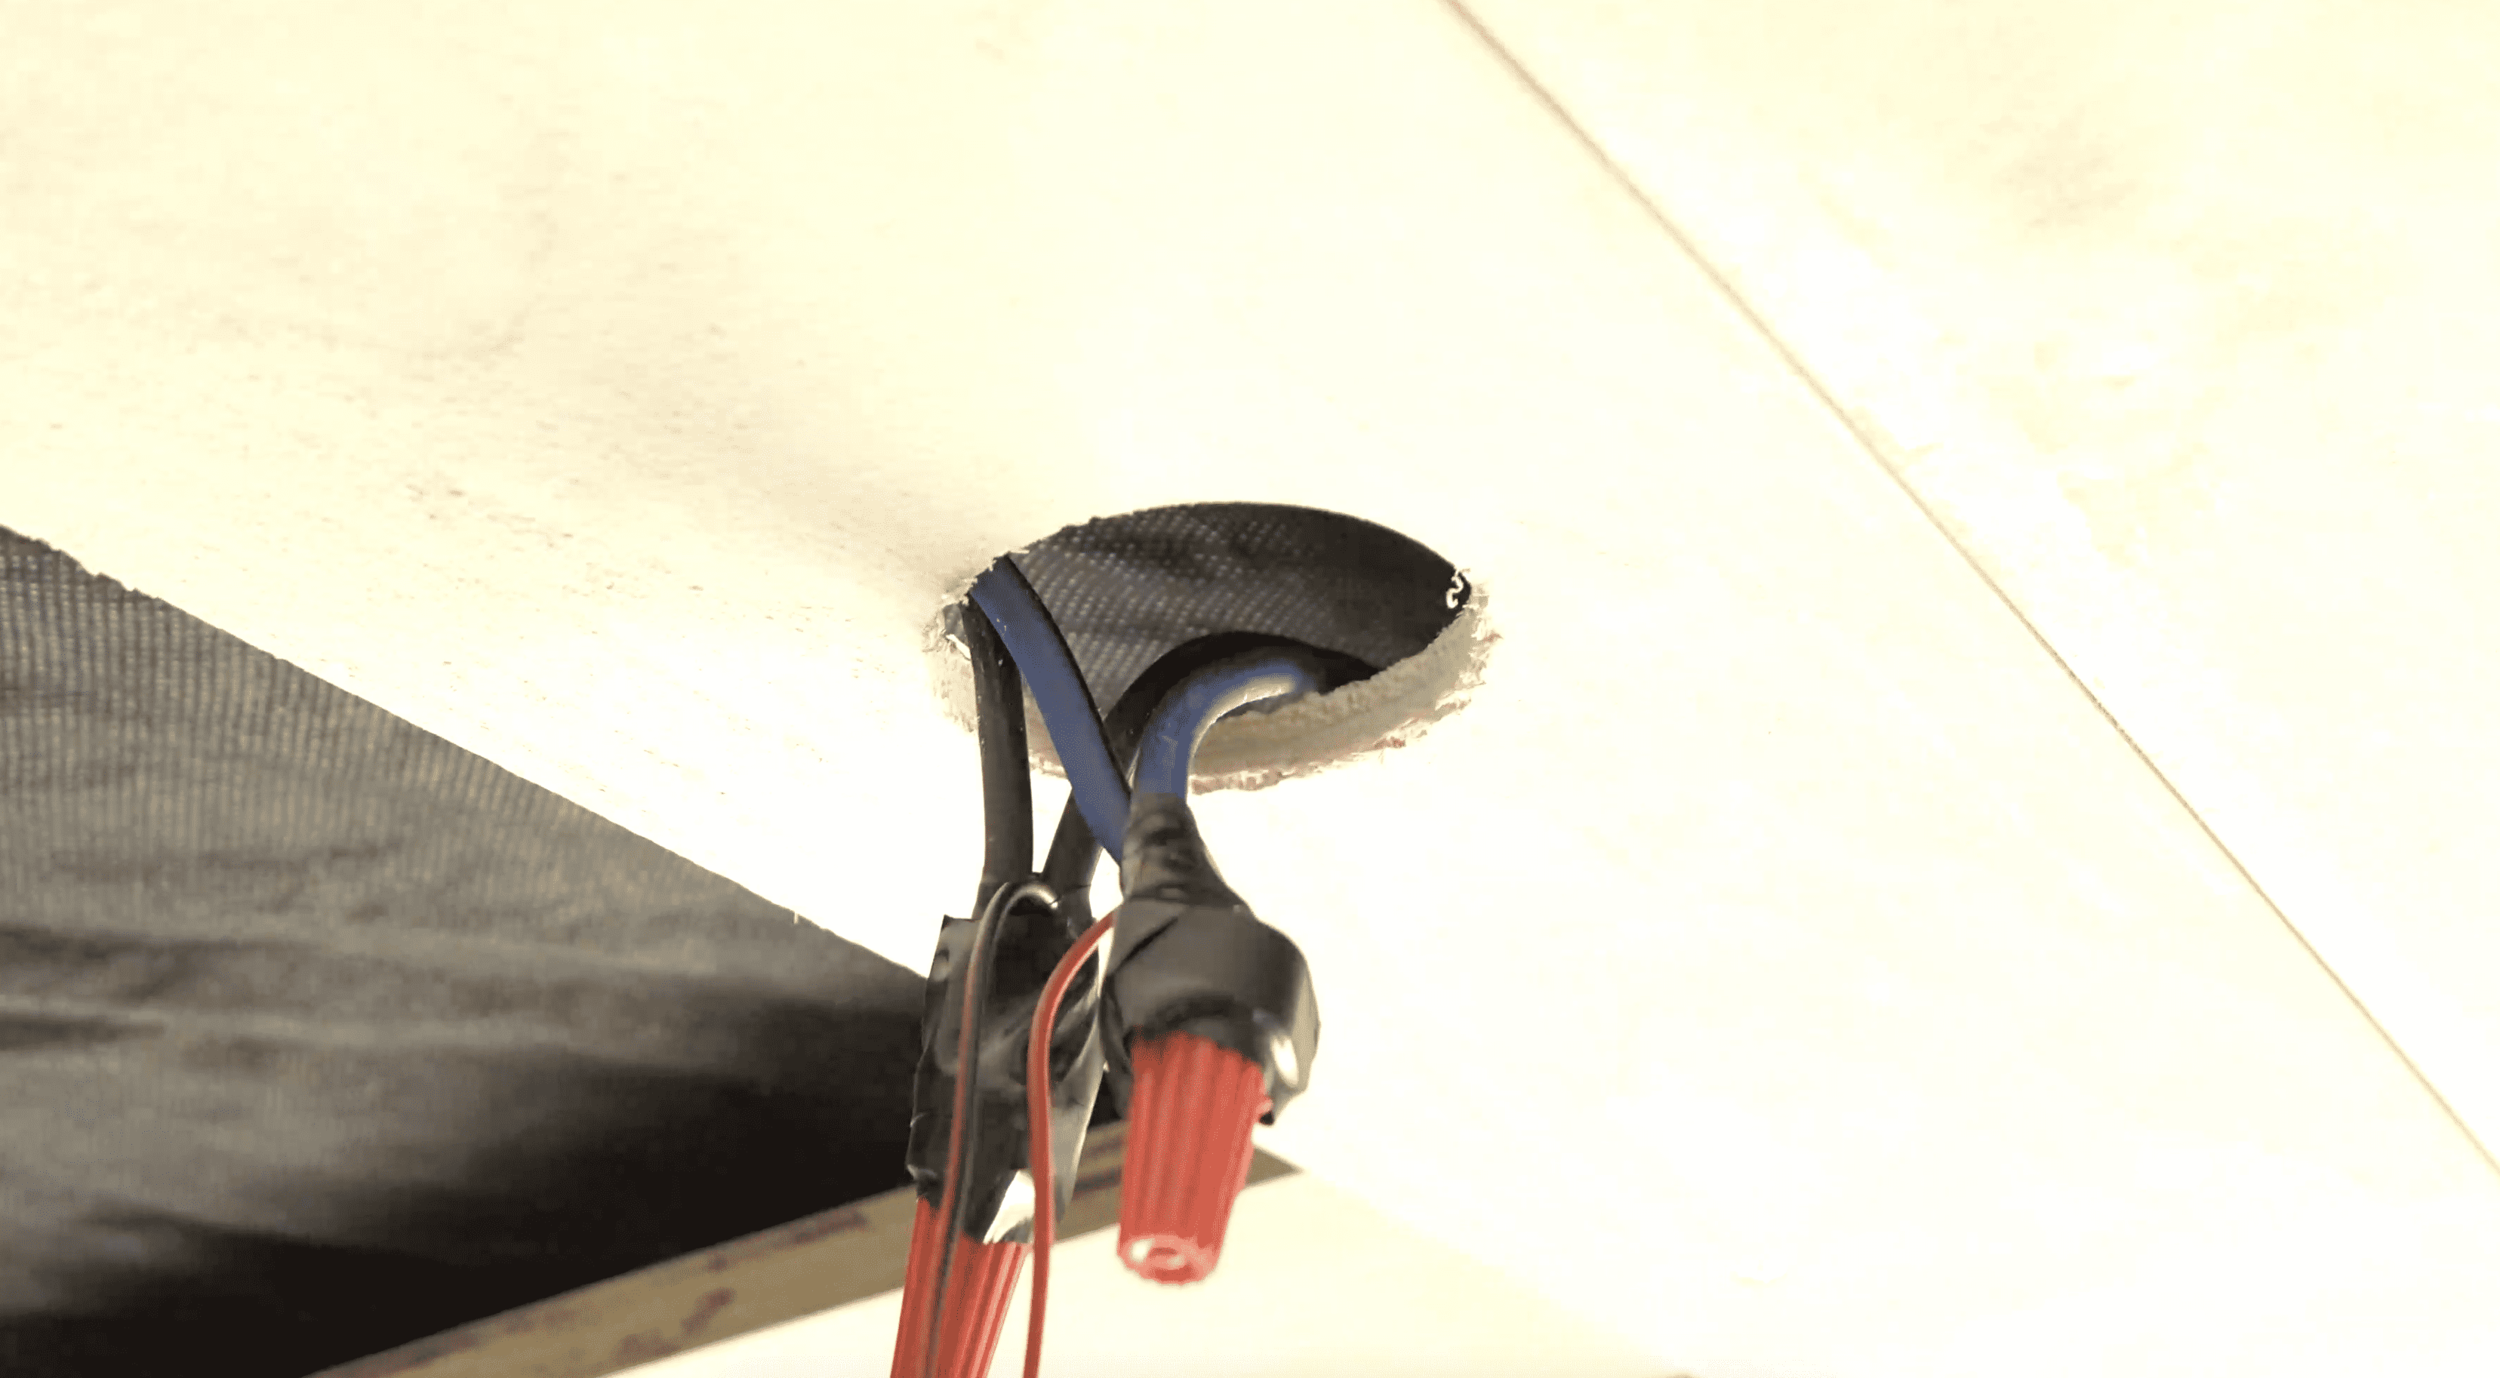
Connect your wiring using the end caps.
I love these little things. The idea is simple, you’re going to intertwine the wires in question (let’s say, your incoming positive DC wire and the small red wire coming off the switch), jam them into the end cap and then turn clockwise while pushing the bare intertwined wires up into the cap. After a turn or two you will feel the wires “catch” inside and get tighter and tighter.
This can take a few times to make a firm connection. Sometimes the smaller wire slips out and you have to start over (which is fine, just unwind the cap, intertwine better this time, and start screwing again).
Once the cap is pretty tight on the end of those wires, wrap the whole thing in electrical tape to seal the connection and make sure it doesn’t rattle loose while on the road.
Step 5:
Connect the whole thing to see if it works!
In my case, I was working with a fuse block and ATO fuses in said fuse block. Once I was ready to test the whole thing, I reconnected the negative DC wire to the fuse block and inserted a 7.5a ATO fuse into the slot over the positive wire in the fuse block.
Then I simply turned on the switch and tested the dimmer! It worked! Hooray, no burning or sparks or electrical fire smells. Finally.


Final Thoughts:
I wish I had not had to go through two bad switches before finding the third that worked perfectly and as expected.
Not only did I have to waste money on those switches, I also had to wait a week between each one for it to arrive in the mail.
If I were to go back, I would have read this article (ha ha) and purchased the correct switch right from the beginning!