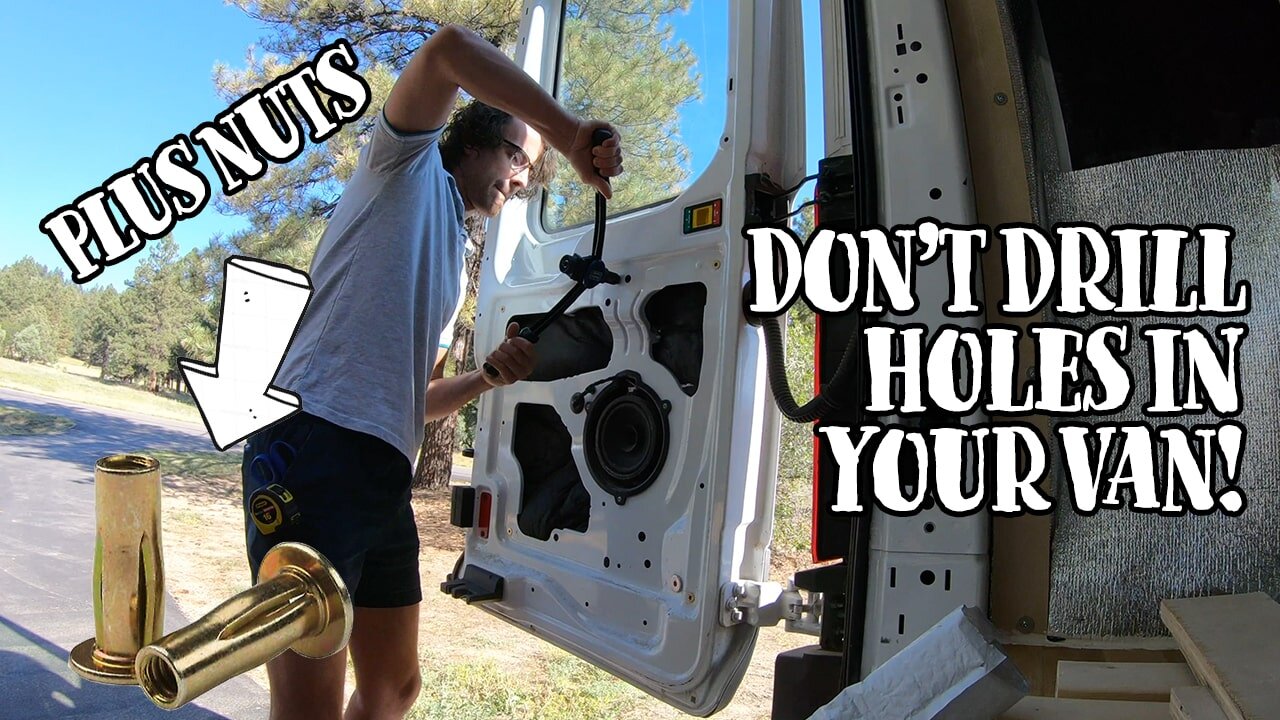
Using Plus Nuts Instead of Drilling in Your Van Build
Materials needed for this project —>
Plus Nuts (I've used about 150 so far but if you plan ahead where you want to mount, you could get away with 100 maybe)
Extra-long Plus Nut Tool (Extra long is a must with these^ plus nuts)
If that^ tool is out of stock (as it was for me), you can buy this tool
and order the EXTRA-long mandible directly from the manufacturer (a "1/4 20 extra-long mandible compatible with Tool 1442"
Hanger Bolts (I'd get 16, I only had 8 and it was a hassle)
EZ Cool (I have just about used one roll of 200spft)

I’m here for ya.
Seriously! Reach out on Instagram or YouTube with questions.
In case you get bored, the video is more fun.
Step 1:
Have a Pringle.
Then have another.


Step 2:
Think about the long-term plan here.
I set about 150 Plus Nuts in my van…I have only used about 50-75 maybe.
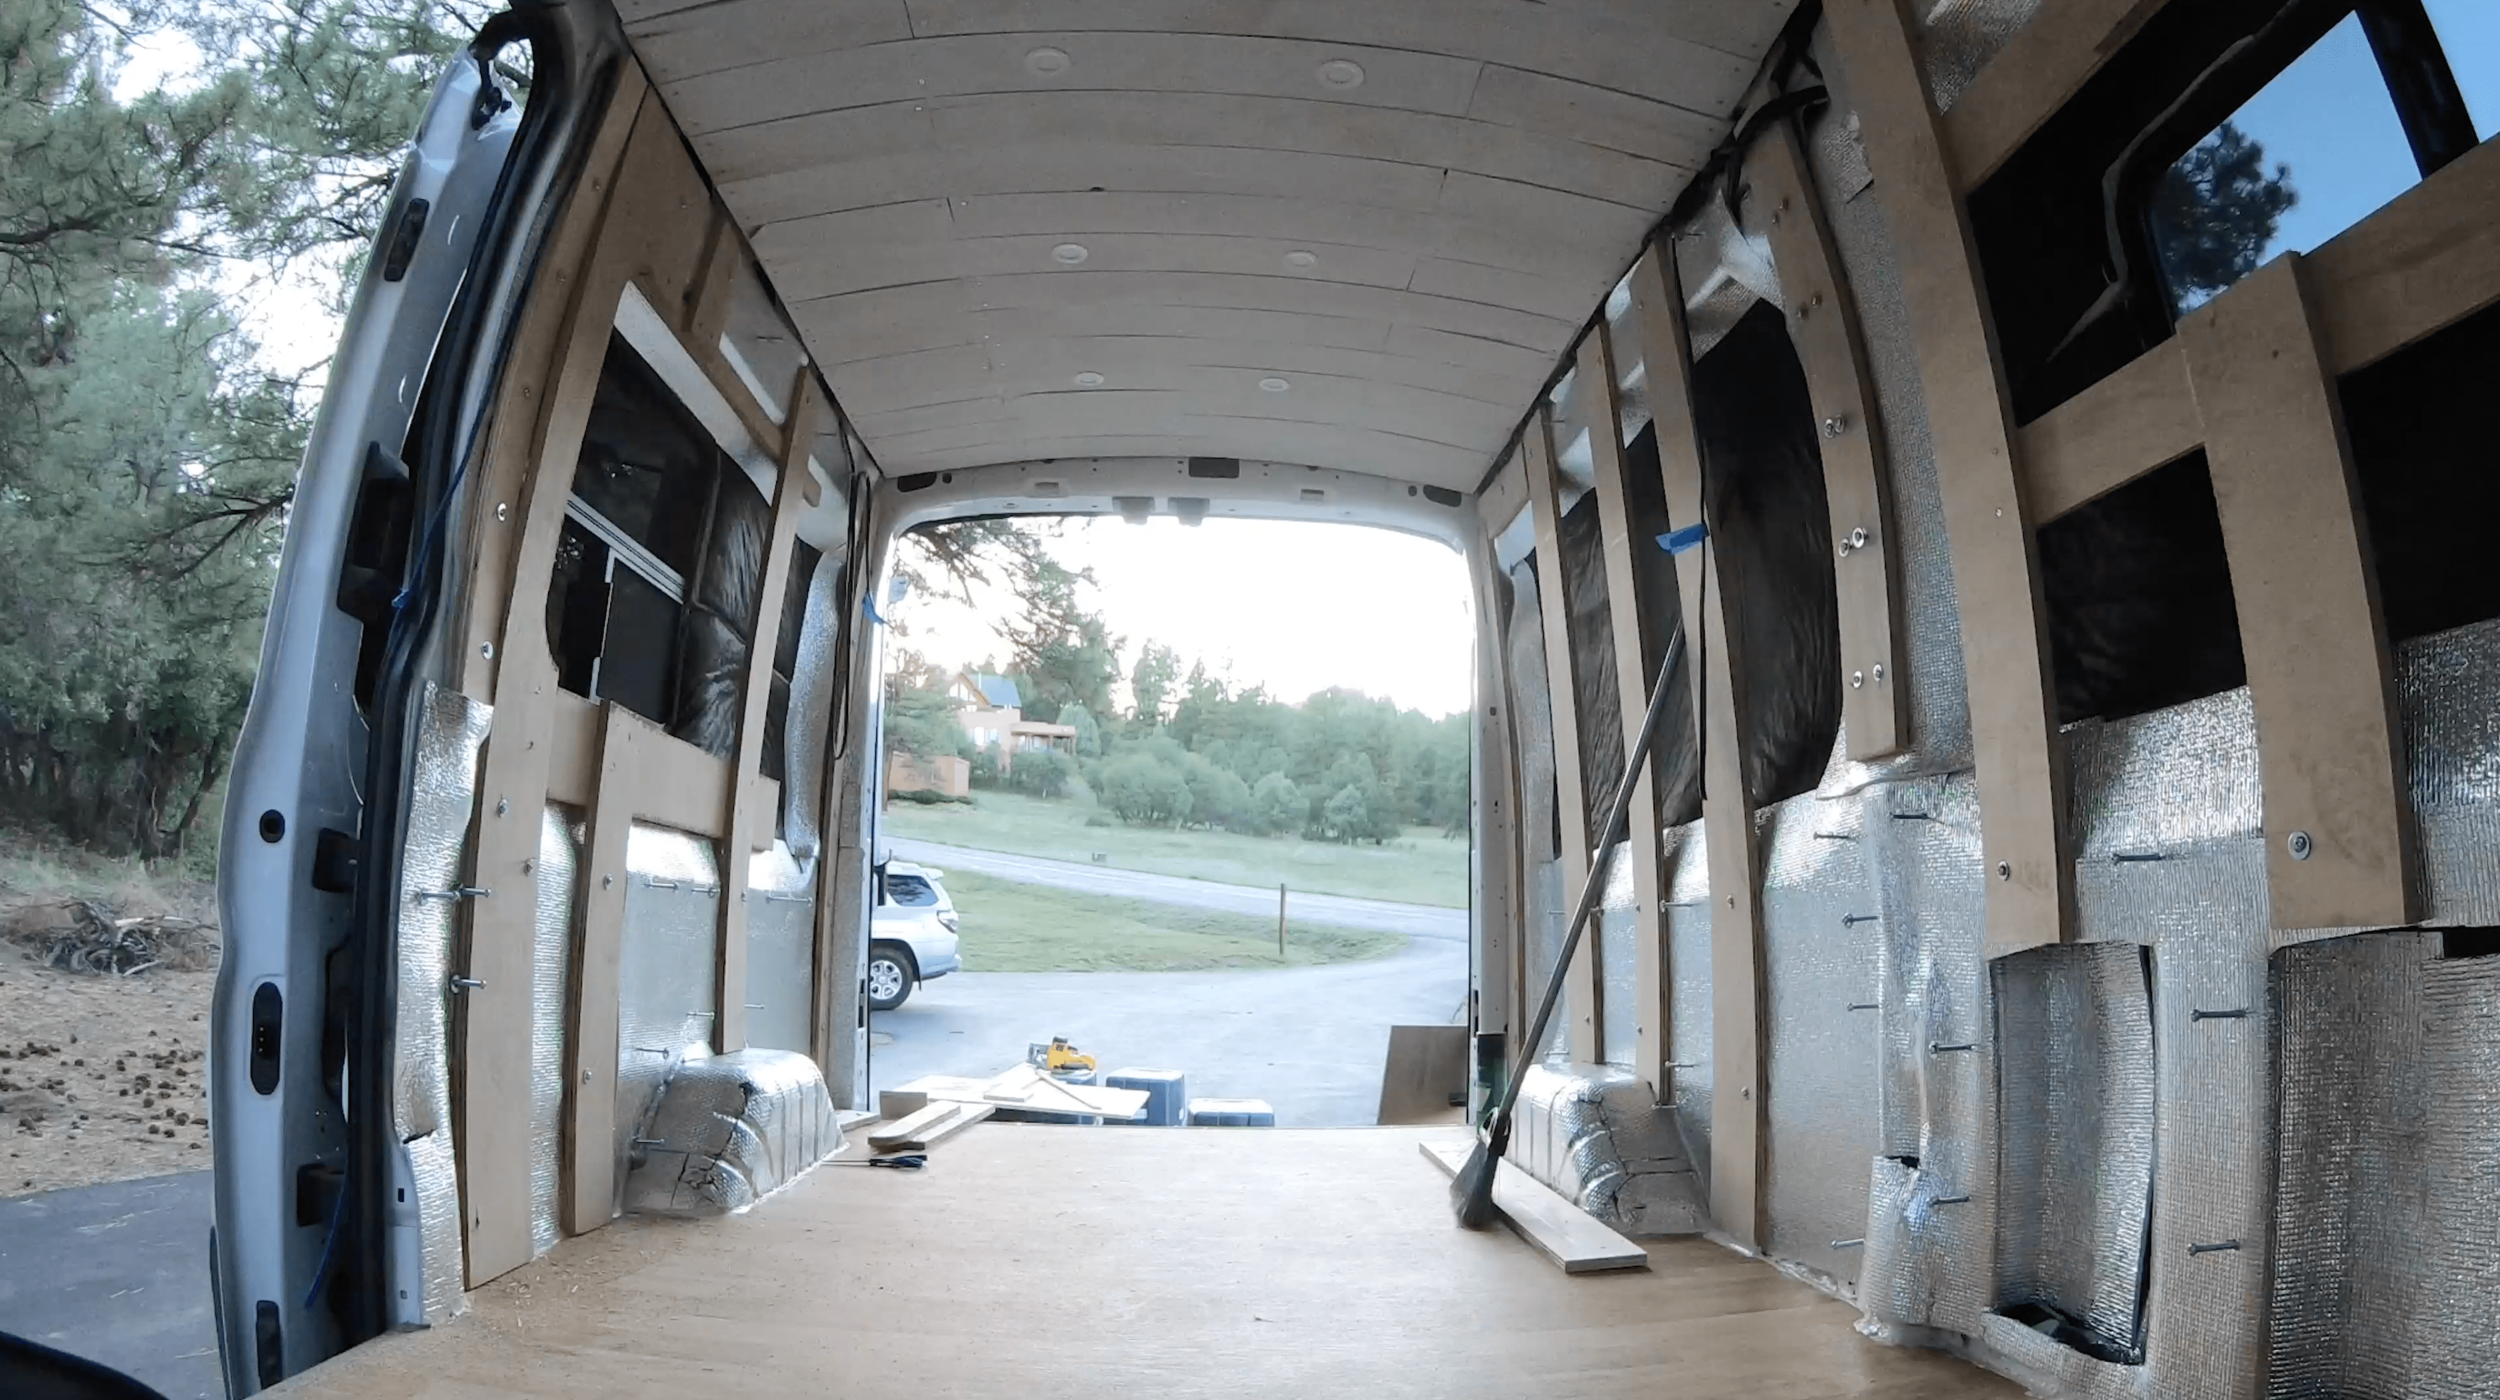
If you can think about where your main furring strips will be located (See how I ran mine vertically every 20-inches or so?), where your kitchen/bed/desk/all that will be mounted and need to be securely bolted to the van, then you can save a lot of time and effort by simply placing Plus Nuts in all of those locations rather than EVERYWHERE like I did…
Step 3:
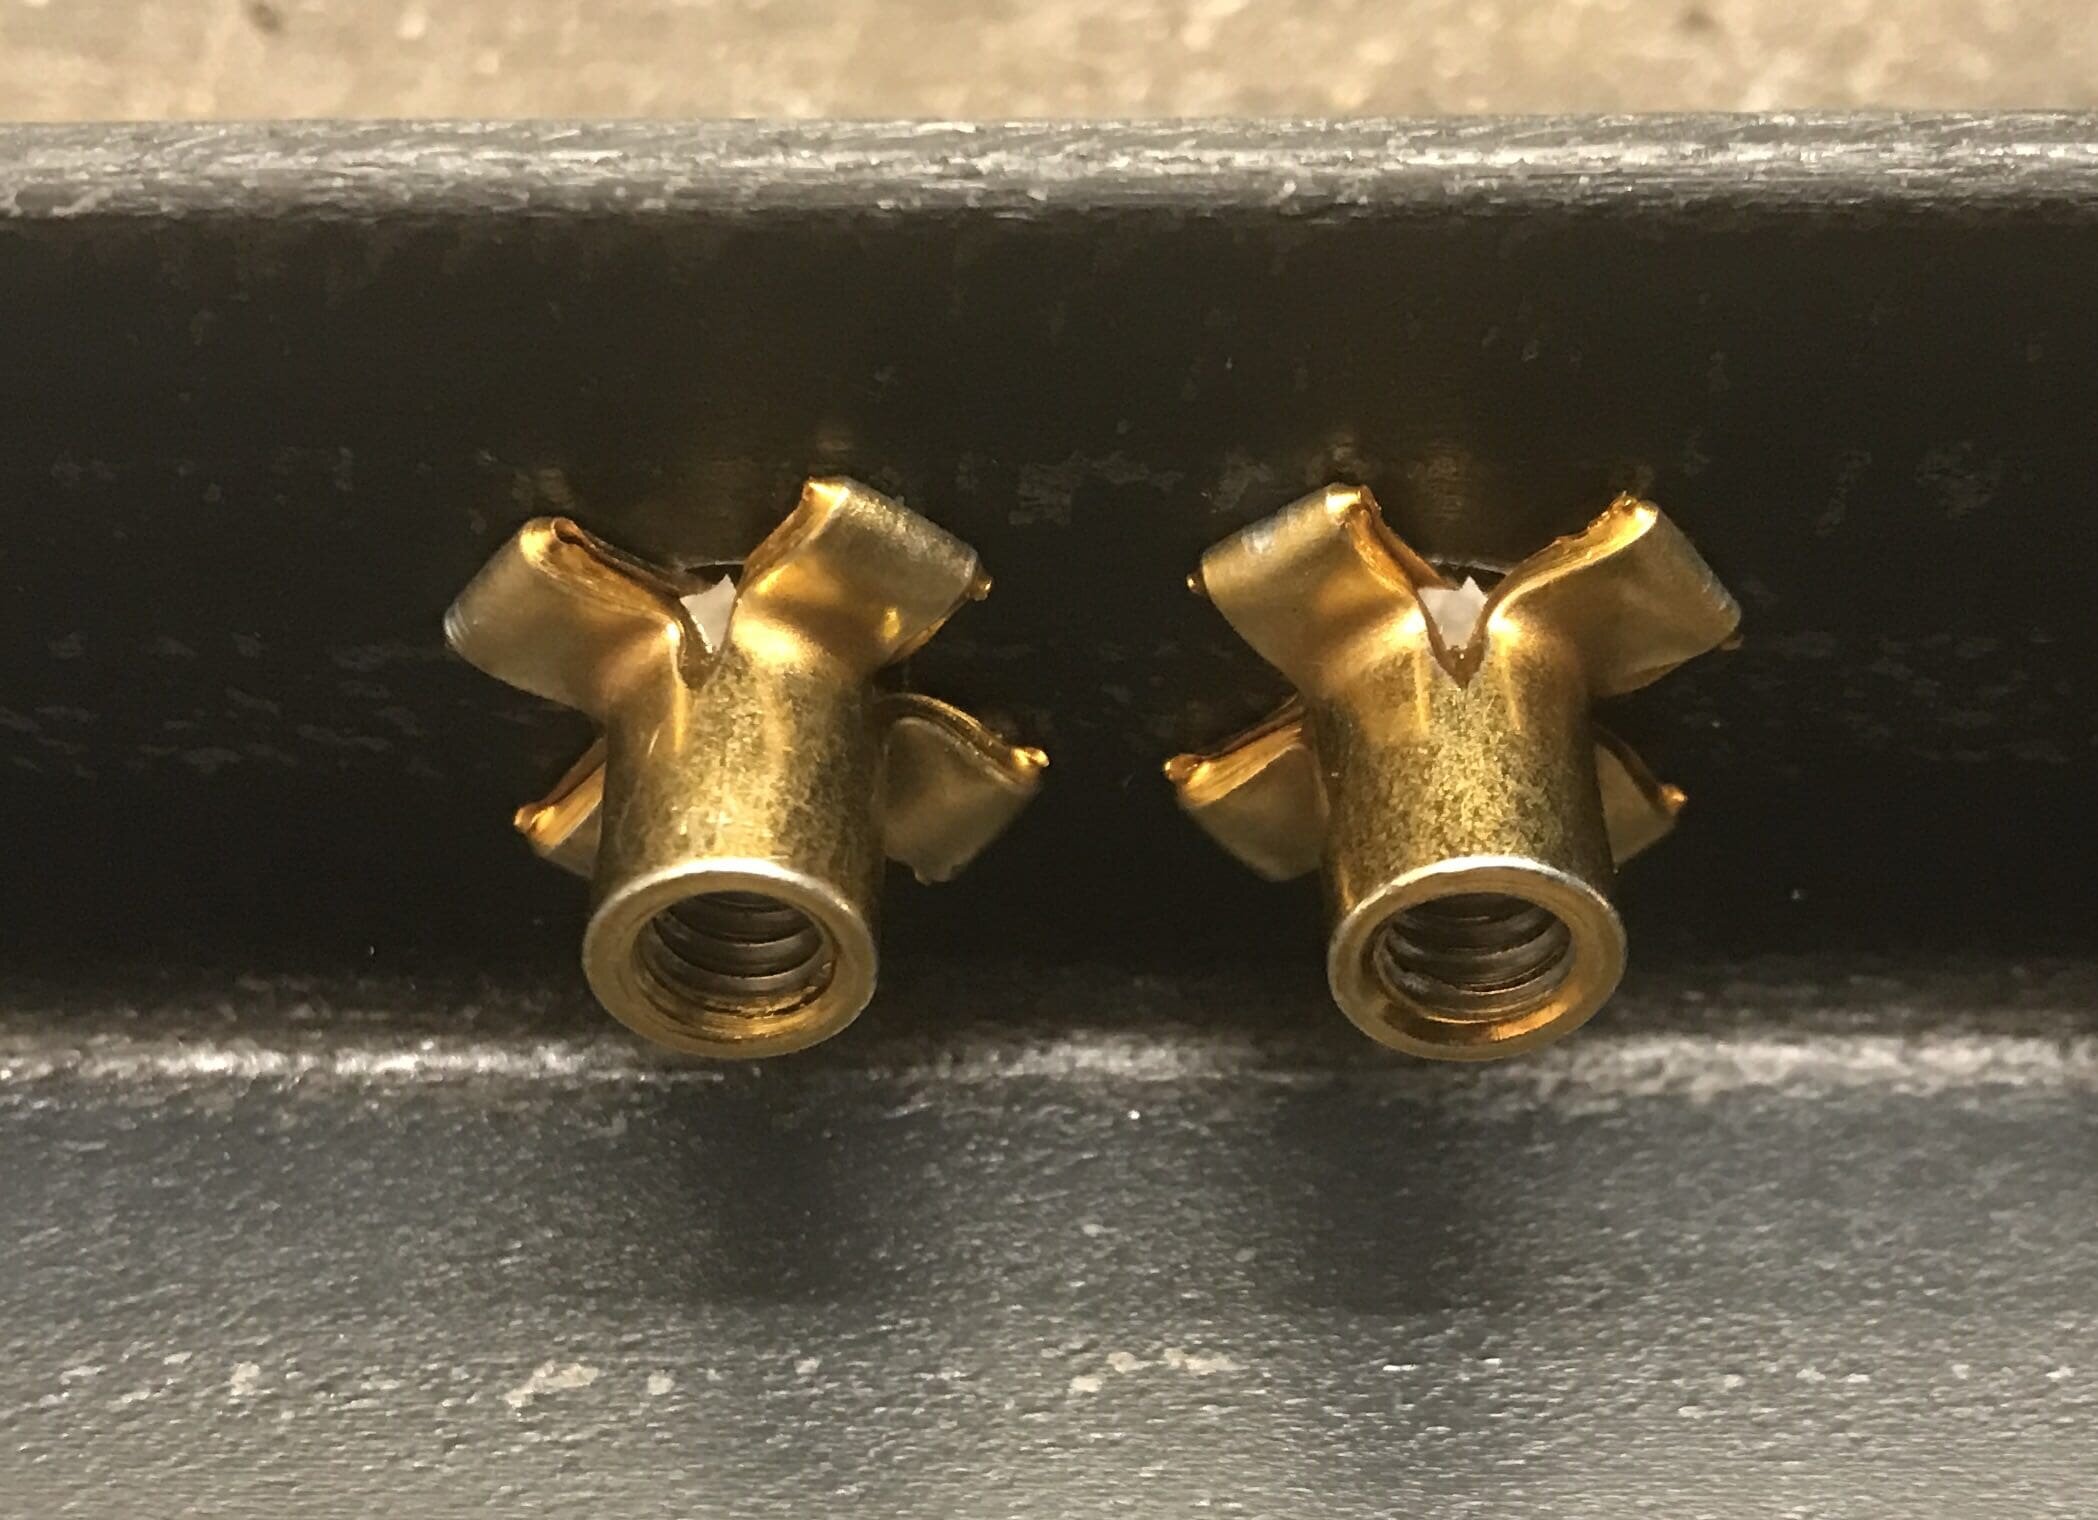
Start putting in Plus Nuts!
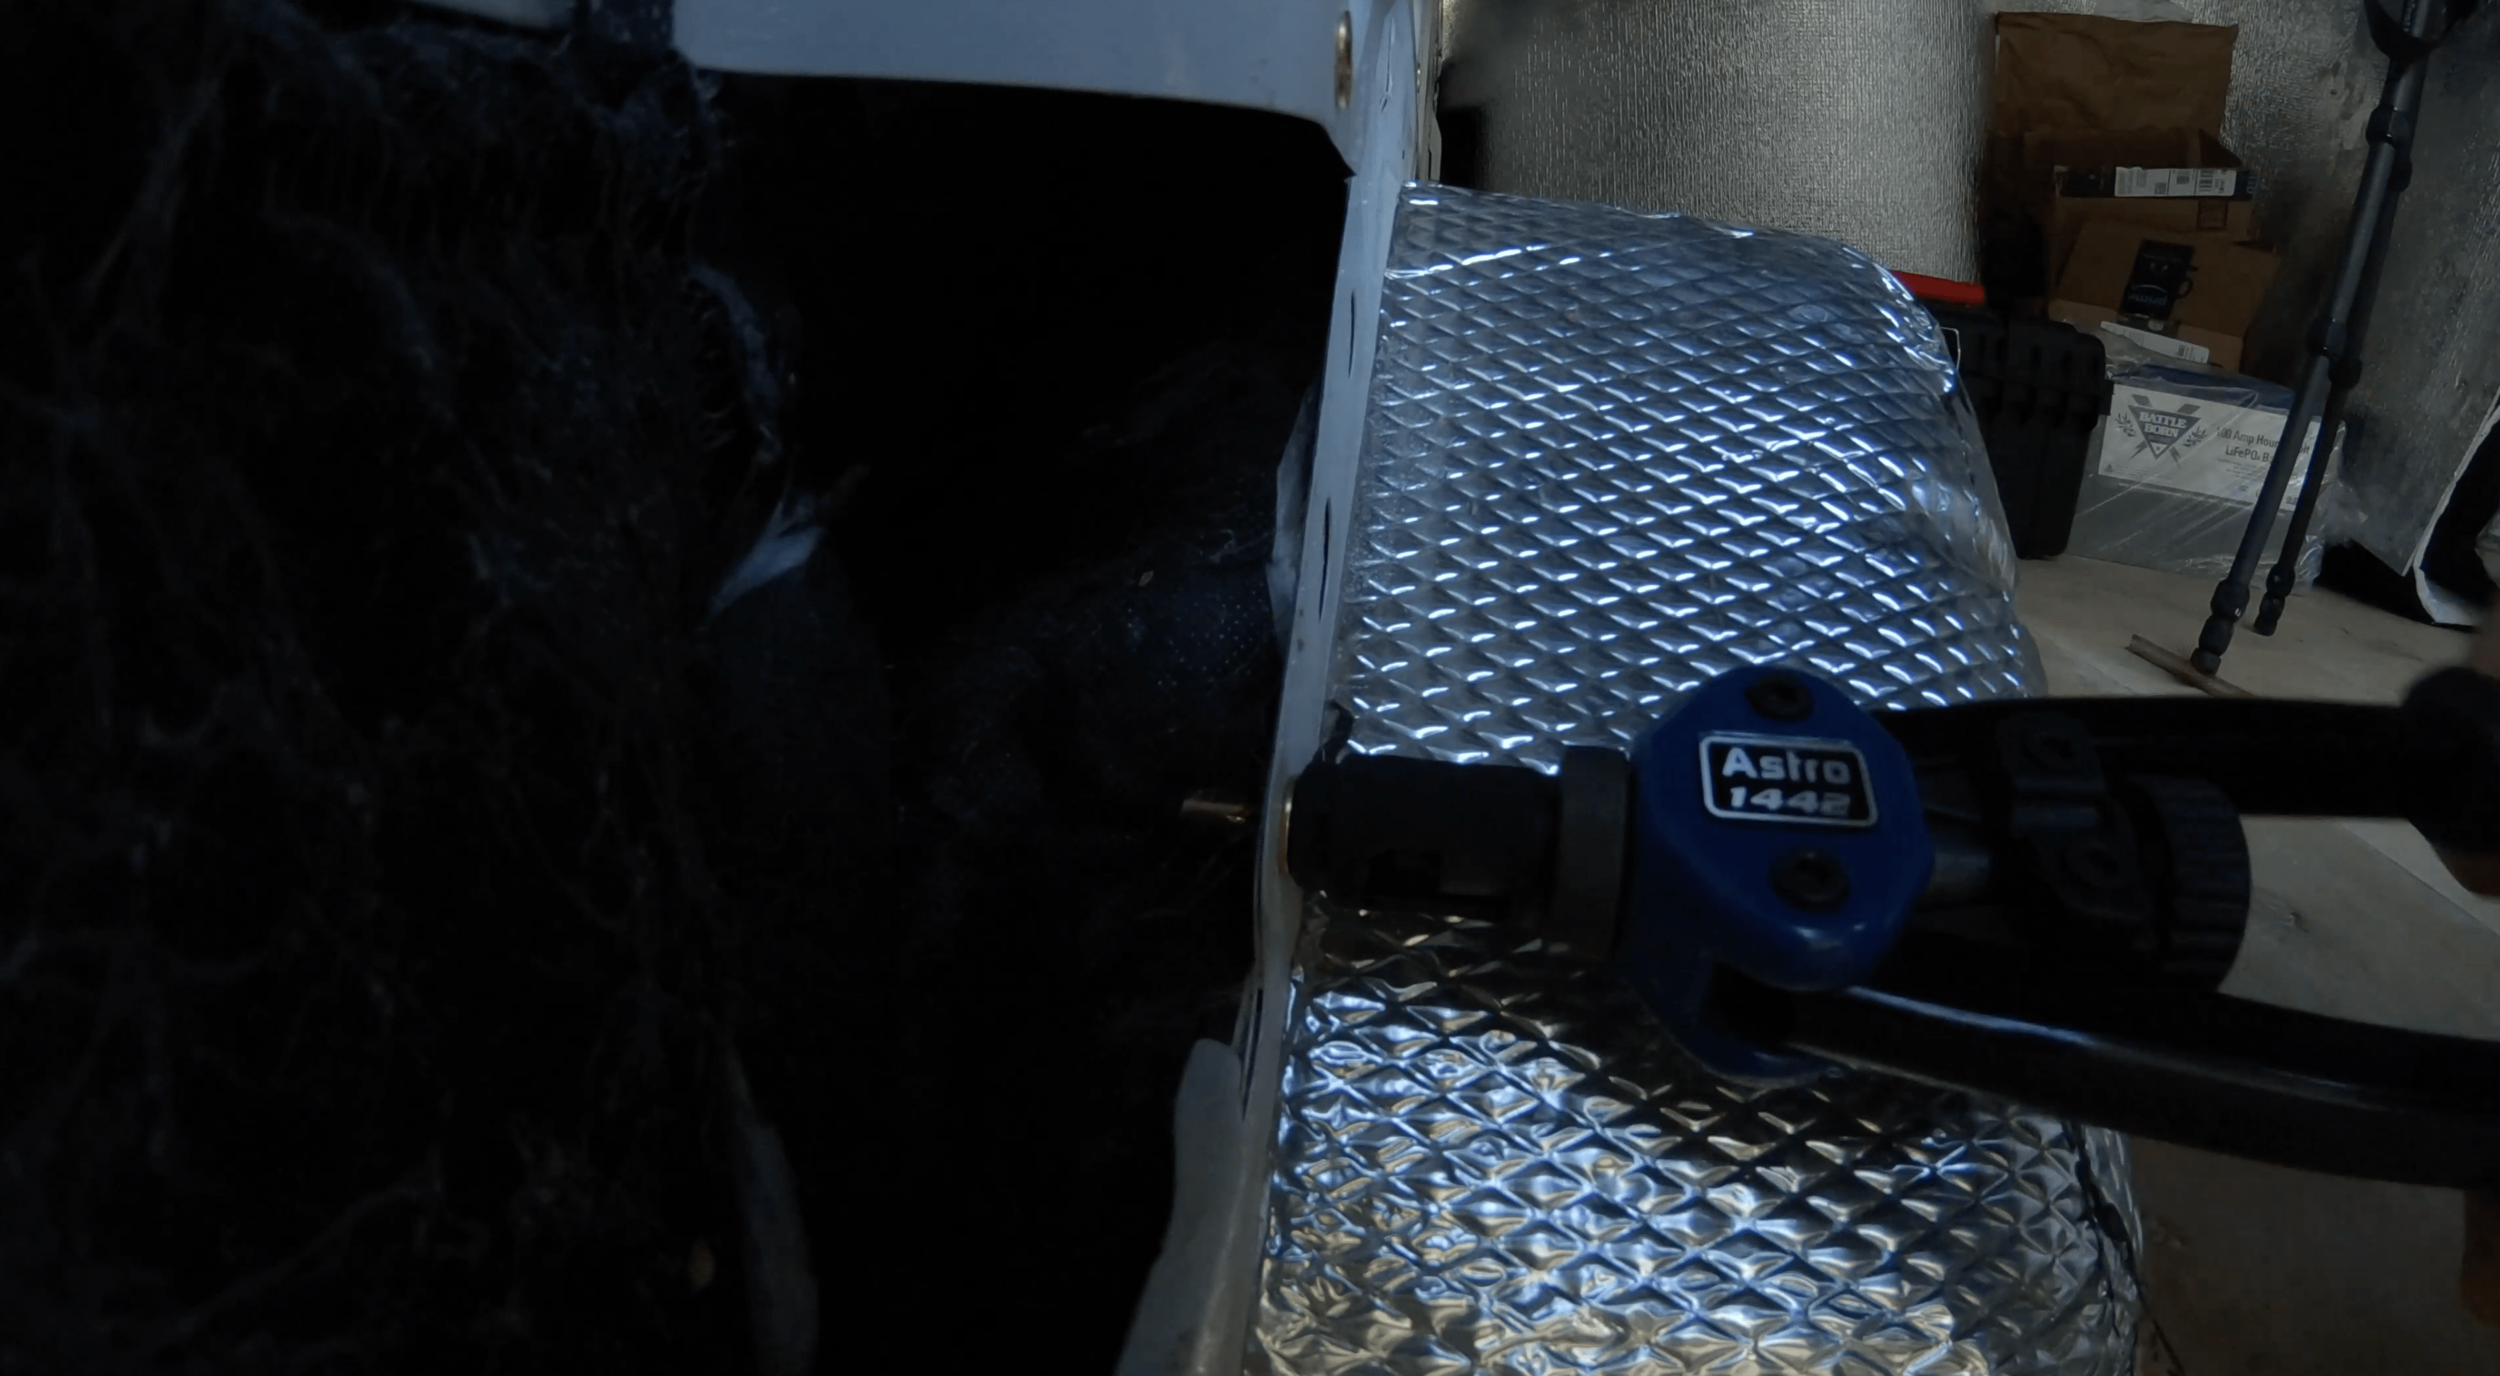
The job is made simple if you have the tool. Simply locate the pre-existing holes that fit your Plus Nut size you ordered, screw the Plus Nut onto the extra long mandible of your tool, insert into the hole all the way, and pull the handles together to make that mushroom effect seal that the Plus Nuts do for you.
NOTE: At first I just closed the handles once and moved on but then I noticed that these Plus Nuts were a little loose and could be jiggled around a bit. If, after your first squeeze, you screw the mandible deeper into the now-partially mushroomed Plus Nut and squeeze again…you can feel the Plus Nut reach its maximum point of mushroomness.
You want to reach the maximum point of mushroomness to assure the secure fit of that bolting location. Later on in my build I came across one (yes, only one, what a miracle) Plus Nut that could not hold its grip on the van metal and came loose when I tried bolting into it (and then just spun endlessly).


Step 4:
Use the hanger bolts to keep track of your Plus Nut locations.
The hanger bolts you ordered up will screw directly into your Plus Nuts and protrude with a pointy end meant to punch through your radiant barrier (I am using EZ Cool, which I am very satisfied with) and then mark pilot hole locations on the furring strips you’ll later install.
Screw in your hanger bolts, cut your EZ Cool for that section of your van, as you’re adhering your EZ Cool to that section of wall using your 3M 90 spray, simply push the EZ Cool right over those sharp points.
Later, when installing furring strips, take your board, position it exactly where you want it on the wall, and press it against the sharp points of the hanger bolts to make a small mark. Drill those holes out and screw your bolts directly through that hole and if you did it correctly, the bolts should catch the Plus Nut in the wall underneath the EZ Cool and serve as a super-secure mounting location!
Final thoughts:
I mounted wayyyy too many Plus Nuts and corresponding bolts…I did so because I wasn’t thinking into the future far enough to be able to predict a good idea of where I’d actually need those Plus Nut mounting locations.
As cool as this wall looks with all those bolts ready and waiting to super securely mount something, it cost me a lot of time and effort for no gain.
