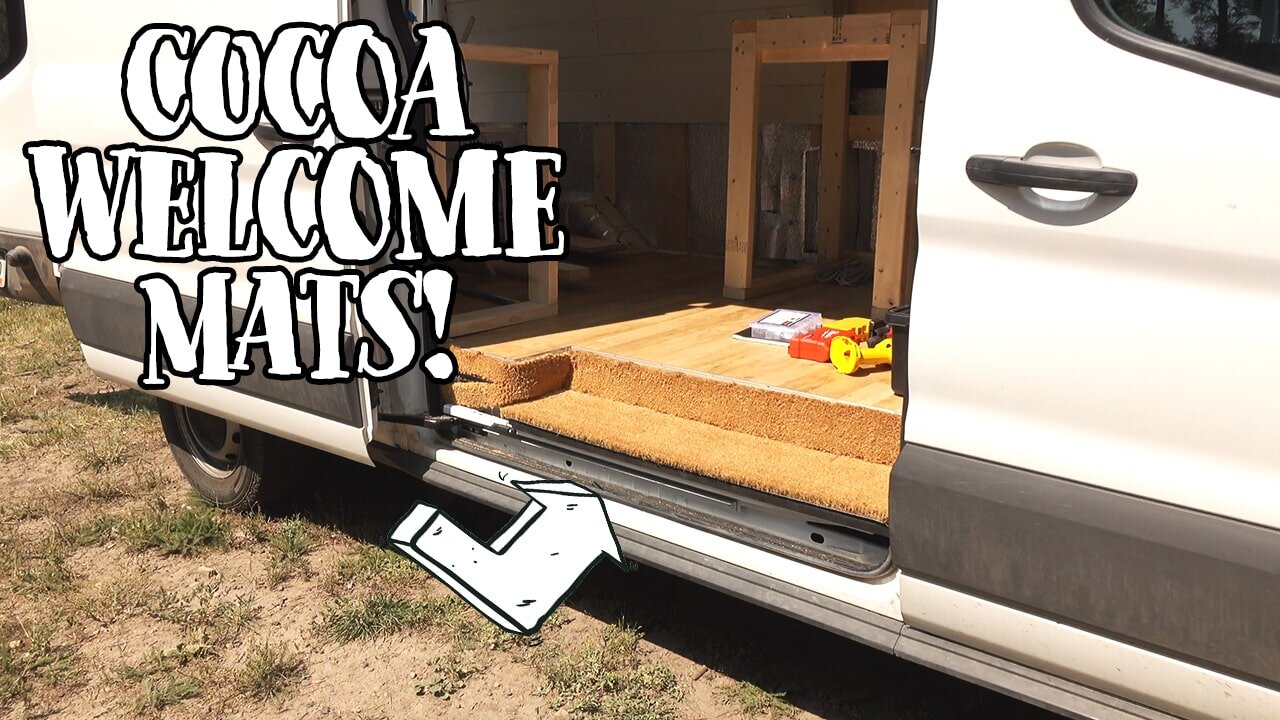
Cocoa Welcome Mats in the Van

I’m here for ya.
Seriously! Reach out on Instagram or YouTube with questions.
The video is fun if you don’t want to read.
Step 1:
Measure and decide how much welcome mat surface area you will need.
I knew I wanted to cover the surface of the steps in the back and at the sliding door. I also knew I wanted to try to cover the back and sides of the step at the sliding door. So, I ordered up enough square footage to be able to cover those spaces in as few pieces as possible.


Step 2:
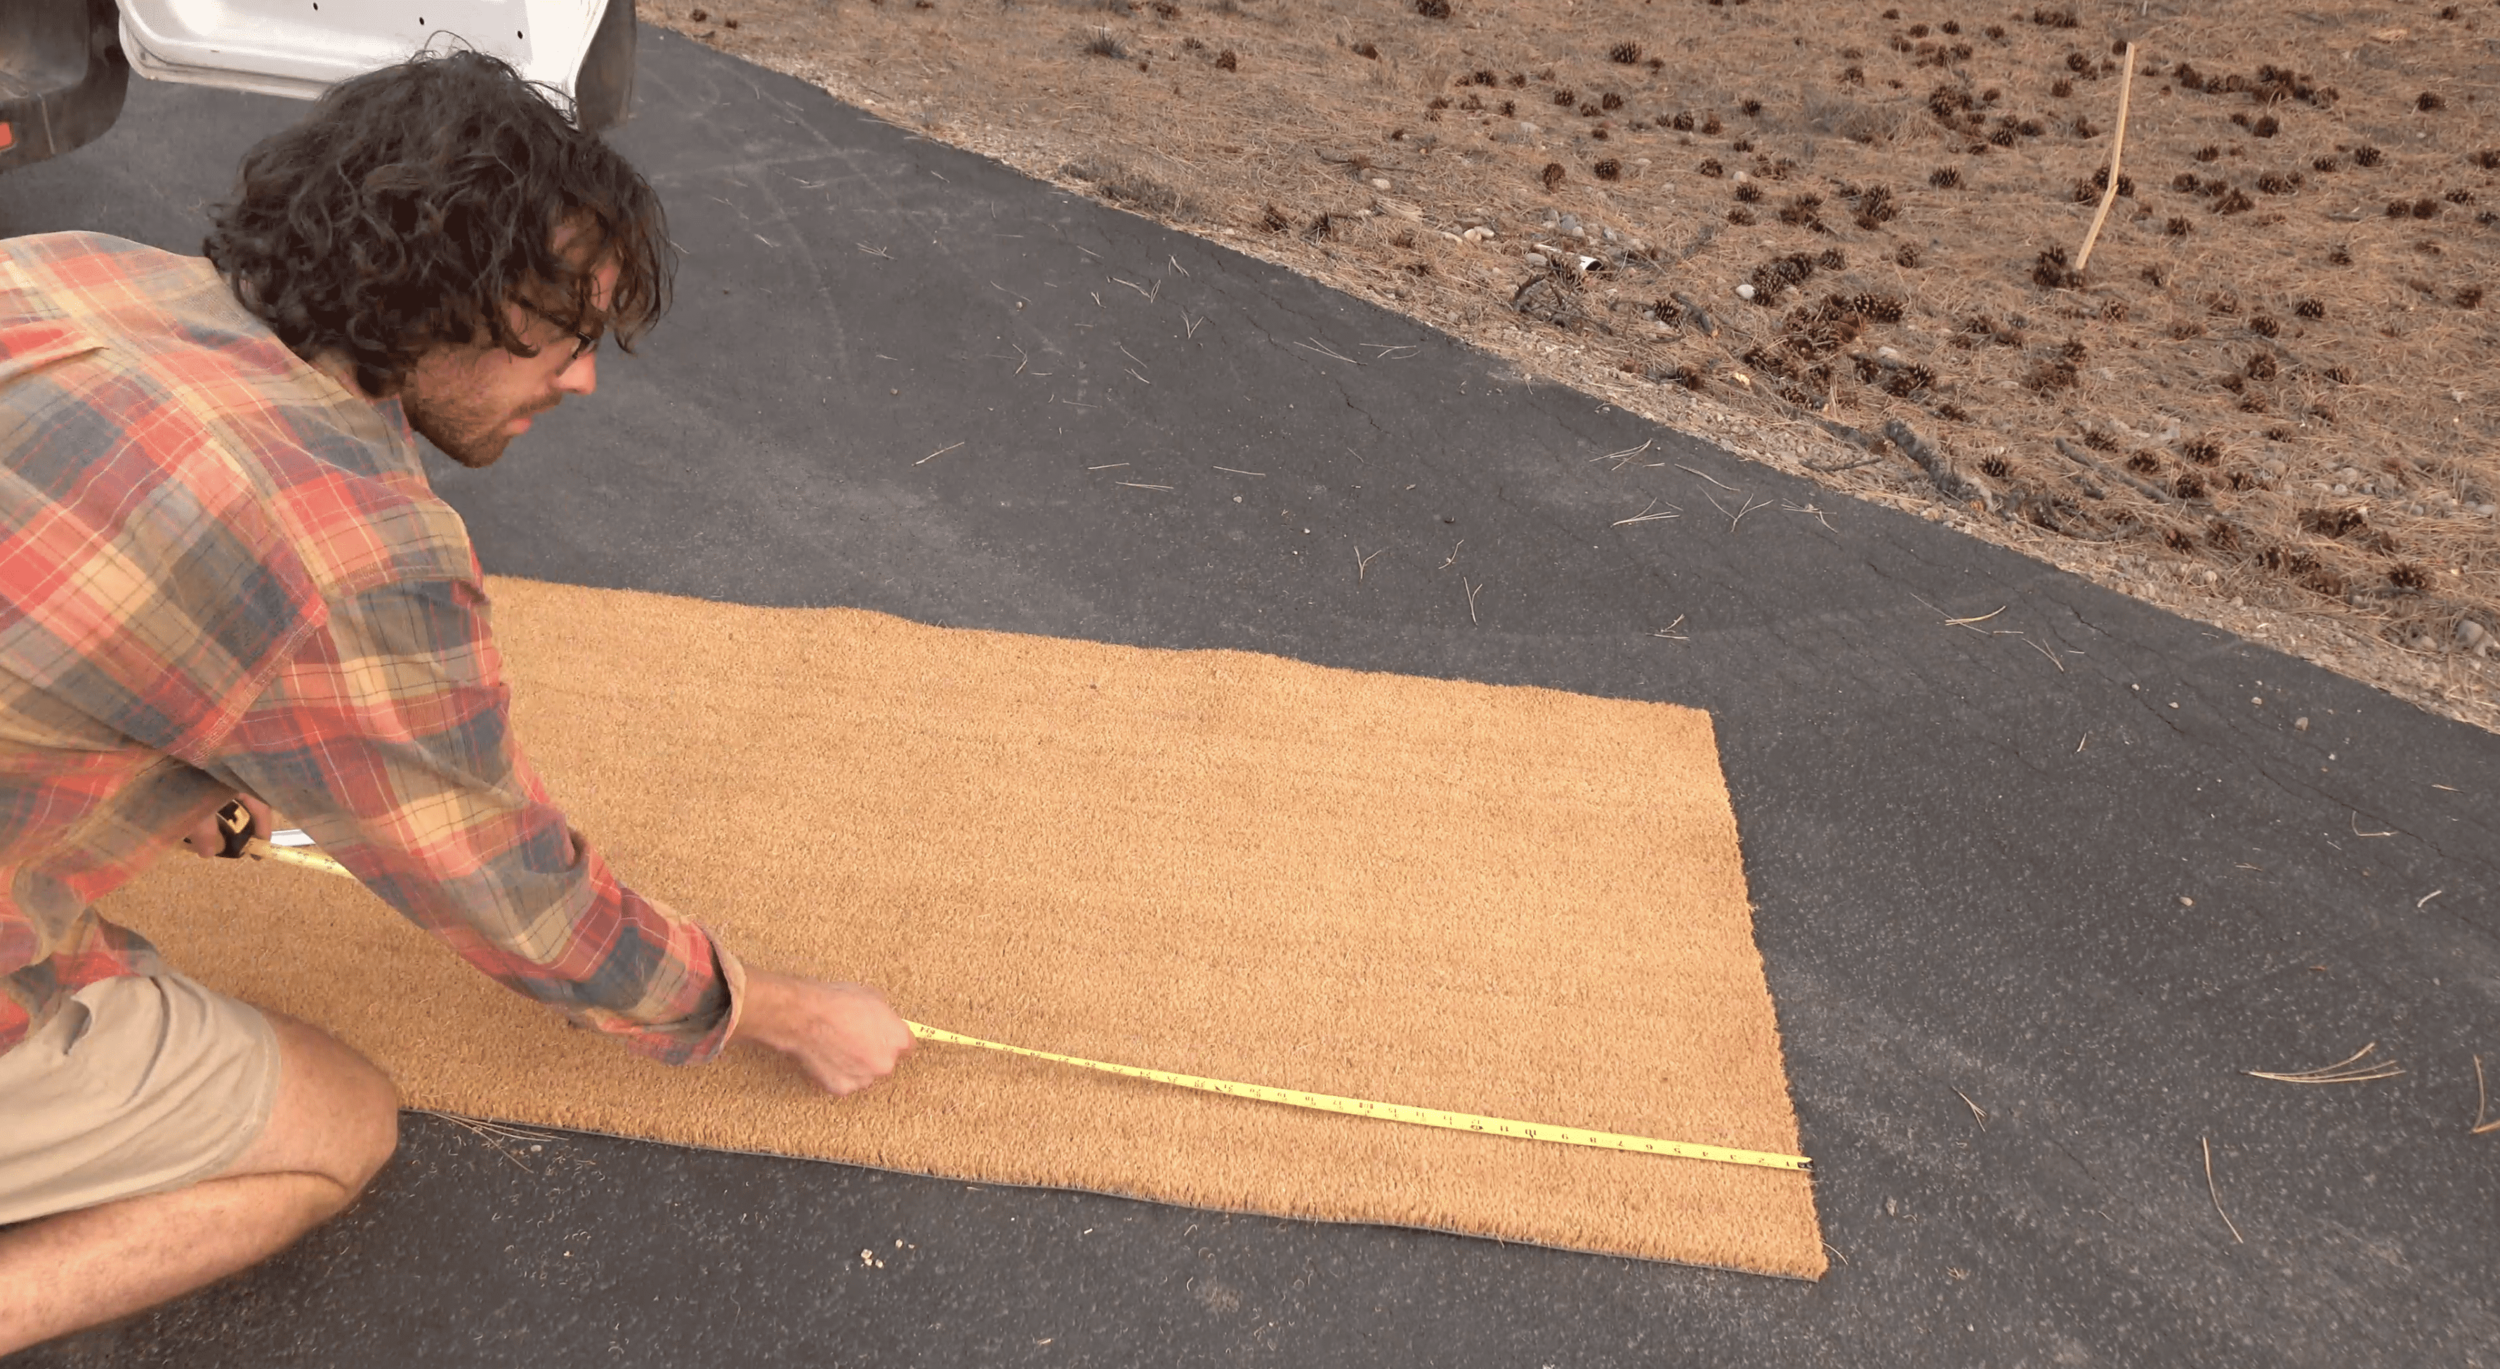
Measure and cut.
I measured and cut for the rear step first since that was my largest single piece (about 60 inches by 9 roughly).
This stuff is really tough to cut, or at least it was the way I did it with house scissors and a utility knife. Patience and strong hands are key here. I traced my line on the back and then cut accordingly.
For both steps, once I fit my large cut piece, I had to go back and make small adjustments to fit the shape of the van. For instance, the rear step is about 9 inches deep at its largest but only about 7 inches deep on the far wings.
Step 3:
Adhere mats to surfaces.
I used 3M 90 (because it was what I had on hand) to attach the rugs to the metal and plastic surfaces. This has held up fine on most of the surfaces but there are places that are peeling away / showing loss of adhesion so if i could go back I would use 3M 98 and hope that that would work better (that is what 3M indicates as the best fit for rubber to plastic and rubber to metal).
I also used a few screws to drill through the upper lip of the cocoa mat (in the sliding door section) through the aluminum stair edging and into the wooden subfloor.
There is a little wonky piece on the left of the sliding door area that I tried to get creative with and isn’t adhering well (see it hanging down in the picture below). I’ll have to either reapply the entire piece but as a separate piece than the rest of the mat or use a screw to keep it attached.


Final thoughts:
As I said, there are places that the mats are not wearing well and look to be coming away from their adhered to surface. If I went back I would do two things: 1) use 3M 98 and 2) install the mats before the stair edging so that I could try to fit the stair edging over the lip of the cocoa mats. I think this would have made the whole thing much more sustainable and also probably look pretty great.